Estimated time: 5-10 minutes. You will need access to your Hypernative dashboard and a Clarion workspace.
Prerequisites
- Access to your Hypernative dashboard with permission to manage Actions and Custom Agents
- A Clarion workspace with the Hypernative integration available
Step 1 — Generate the webhook URL in Clarion
- In Clarion, navigate to Settings > Integrations
- Click Connect on the Hypernative card
- Clarion generates a webhook URL
- Copy the webhook URL — you’ll need it in the next step
Step 2 — Create a webhook Action in Hypernative
- In the Hypernative dashboard, go to Actions
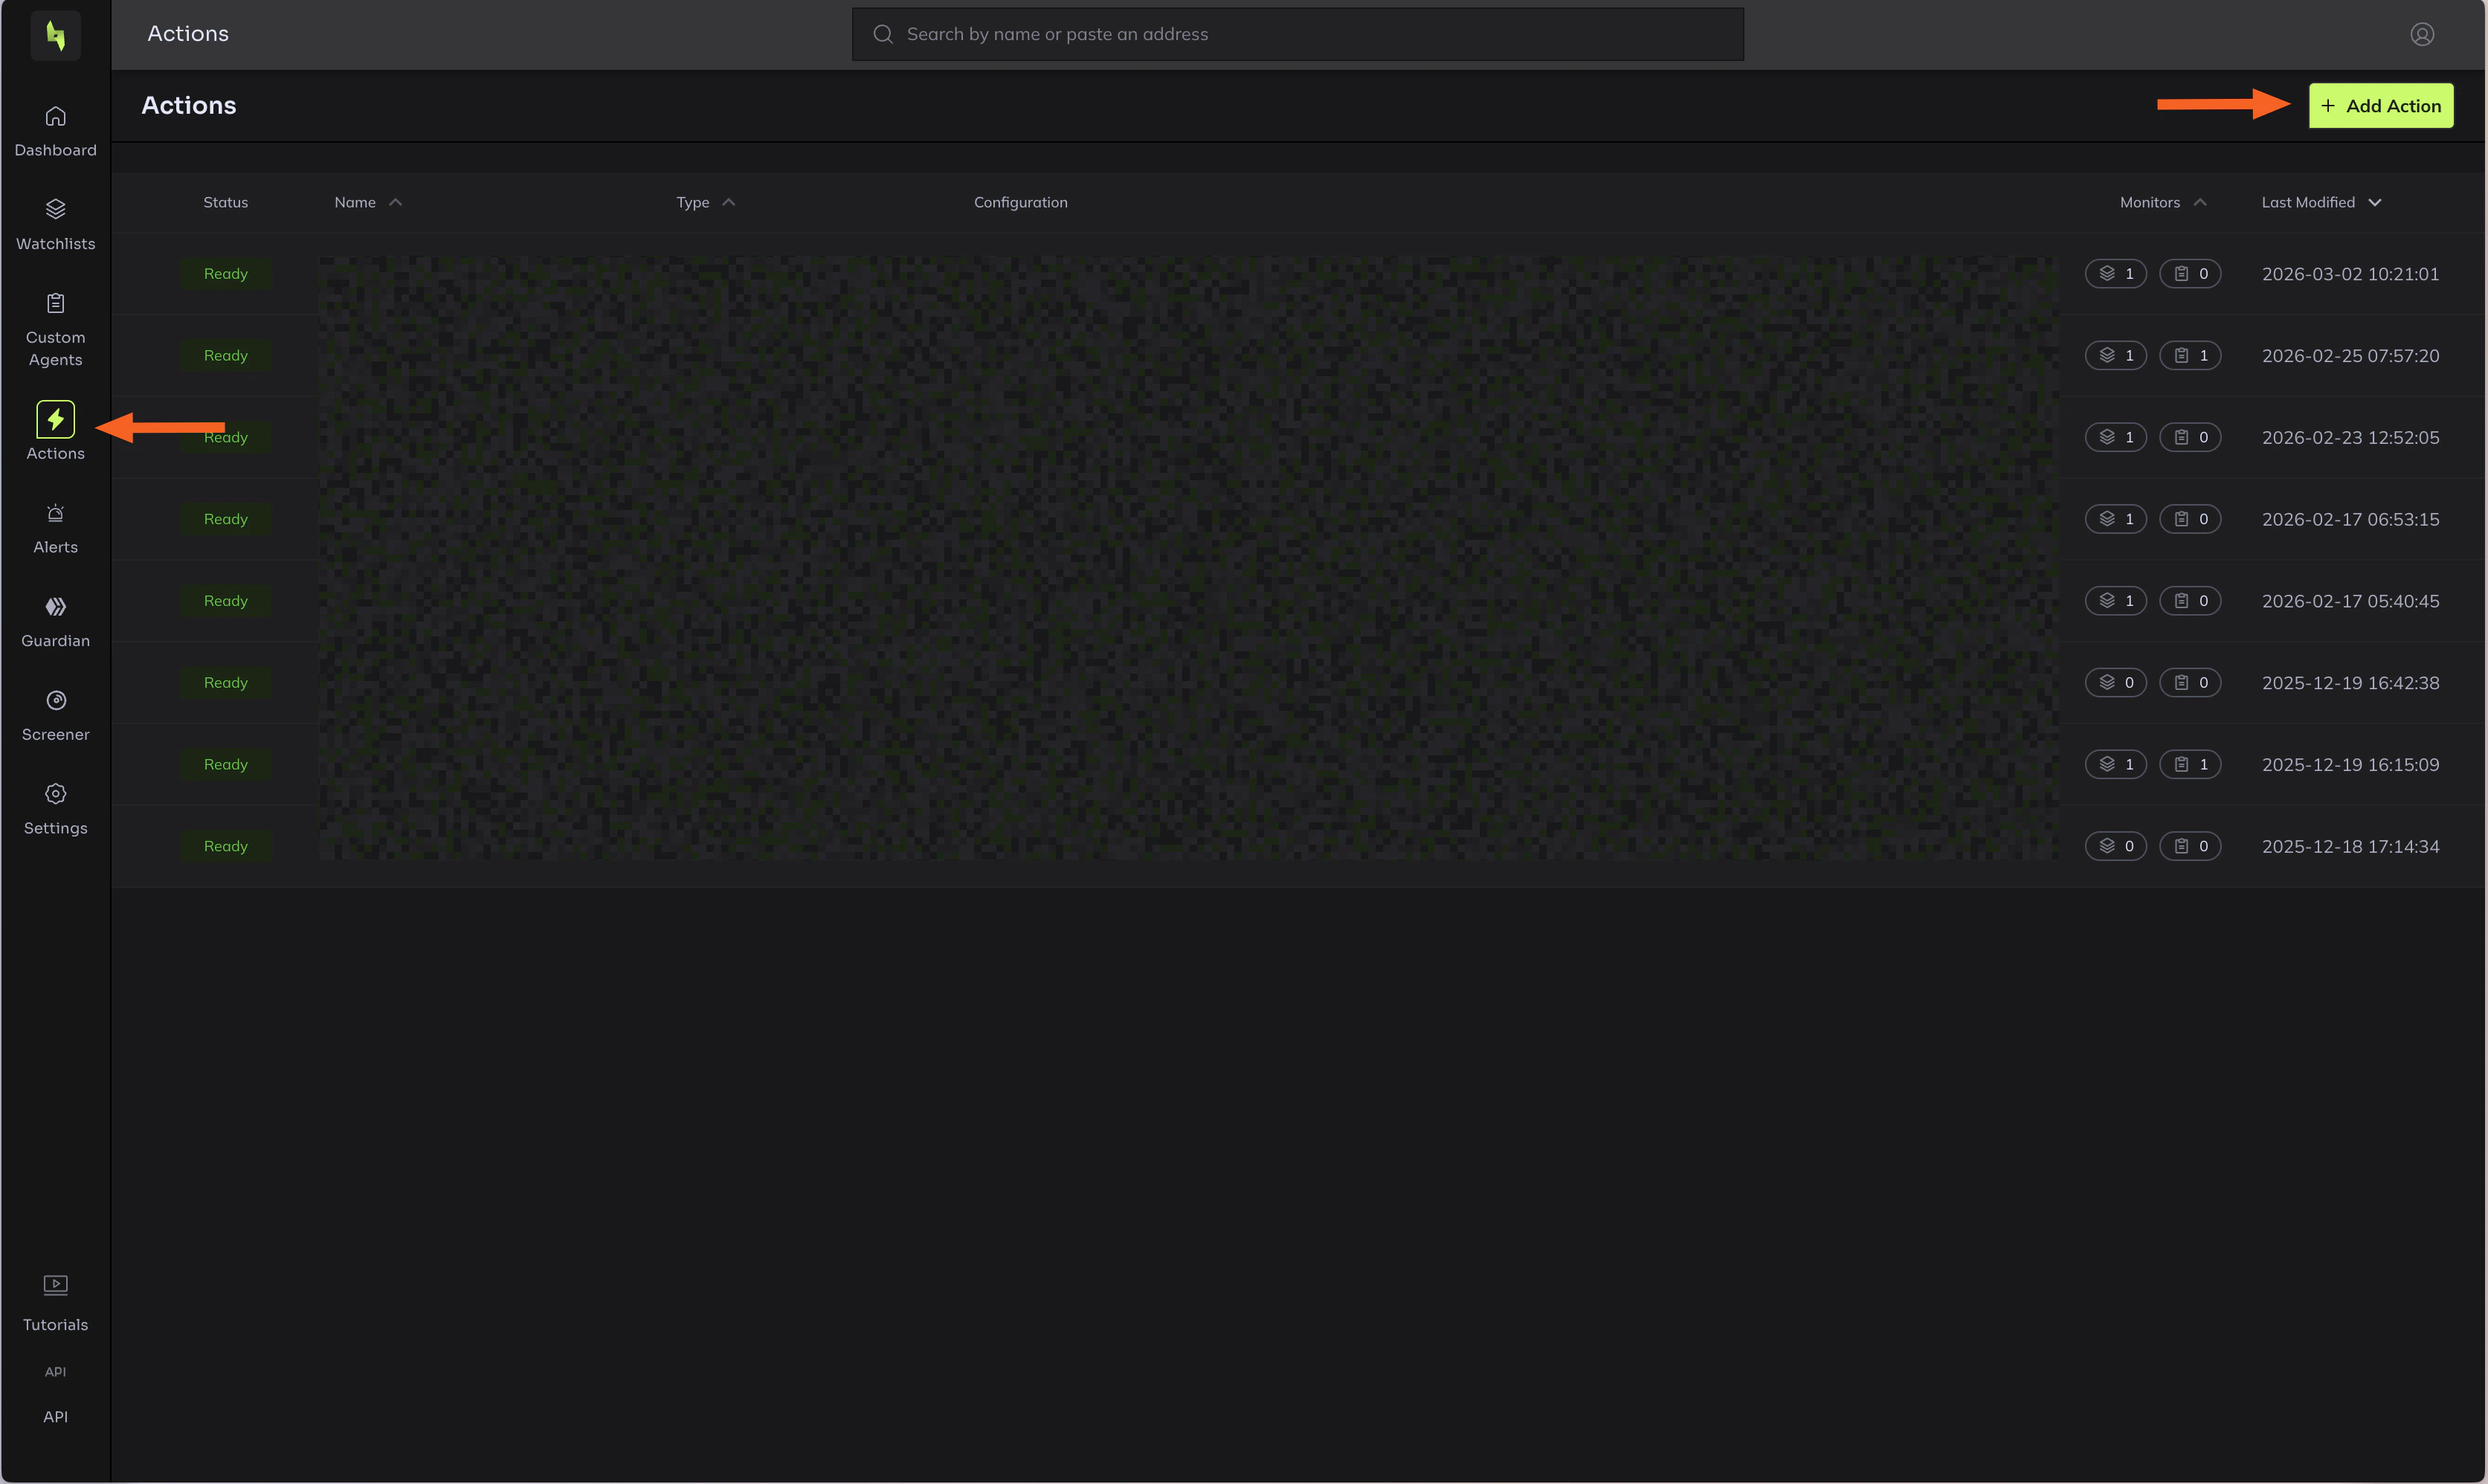
- Click Add action
- Select Webhook as the action type
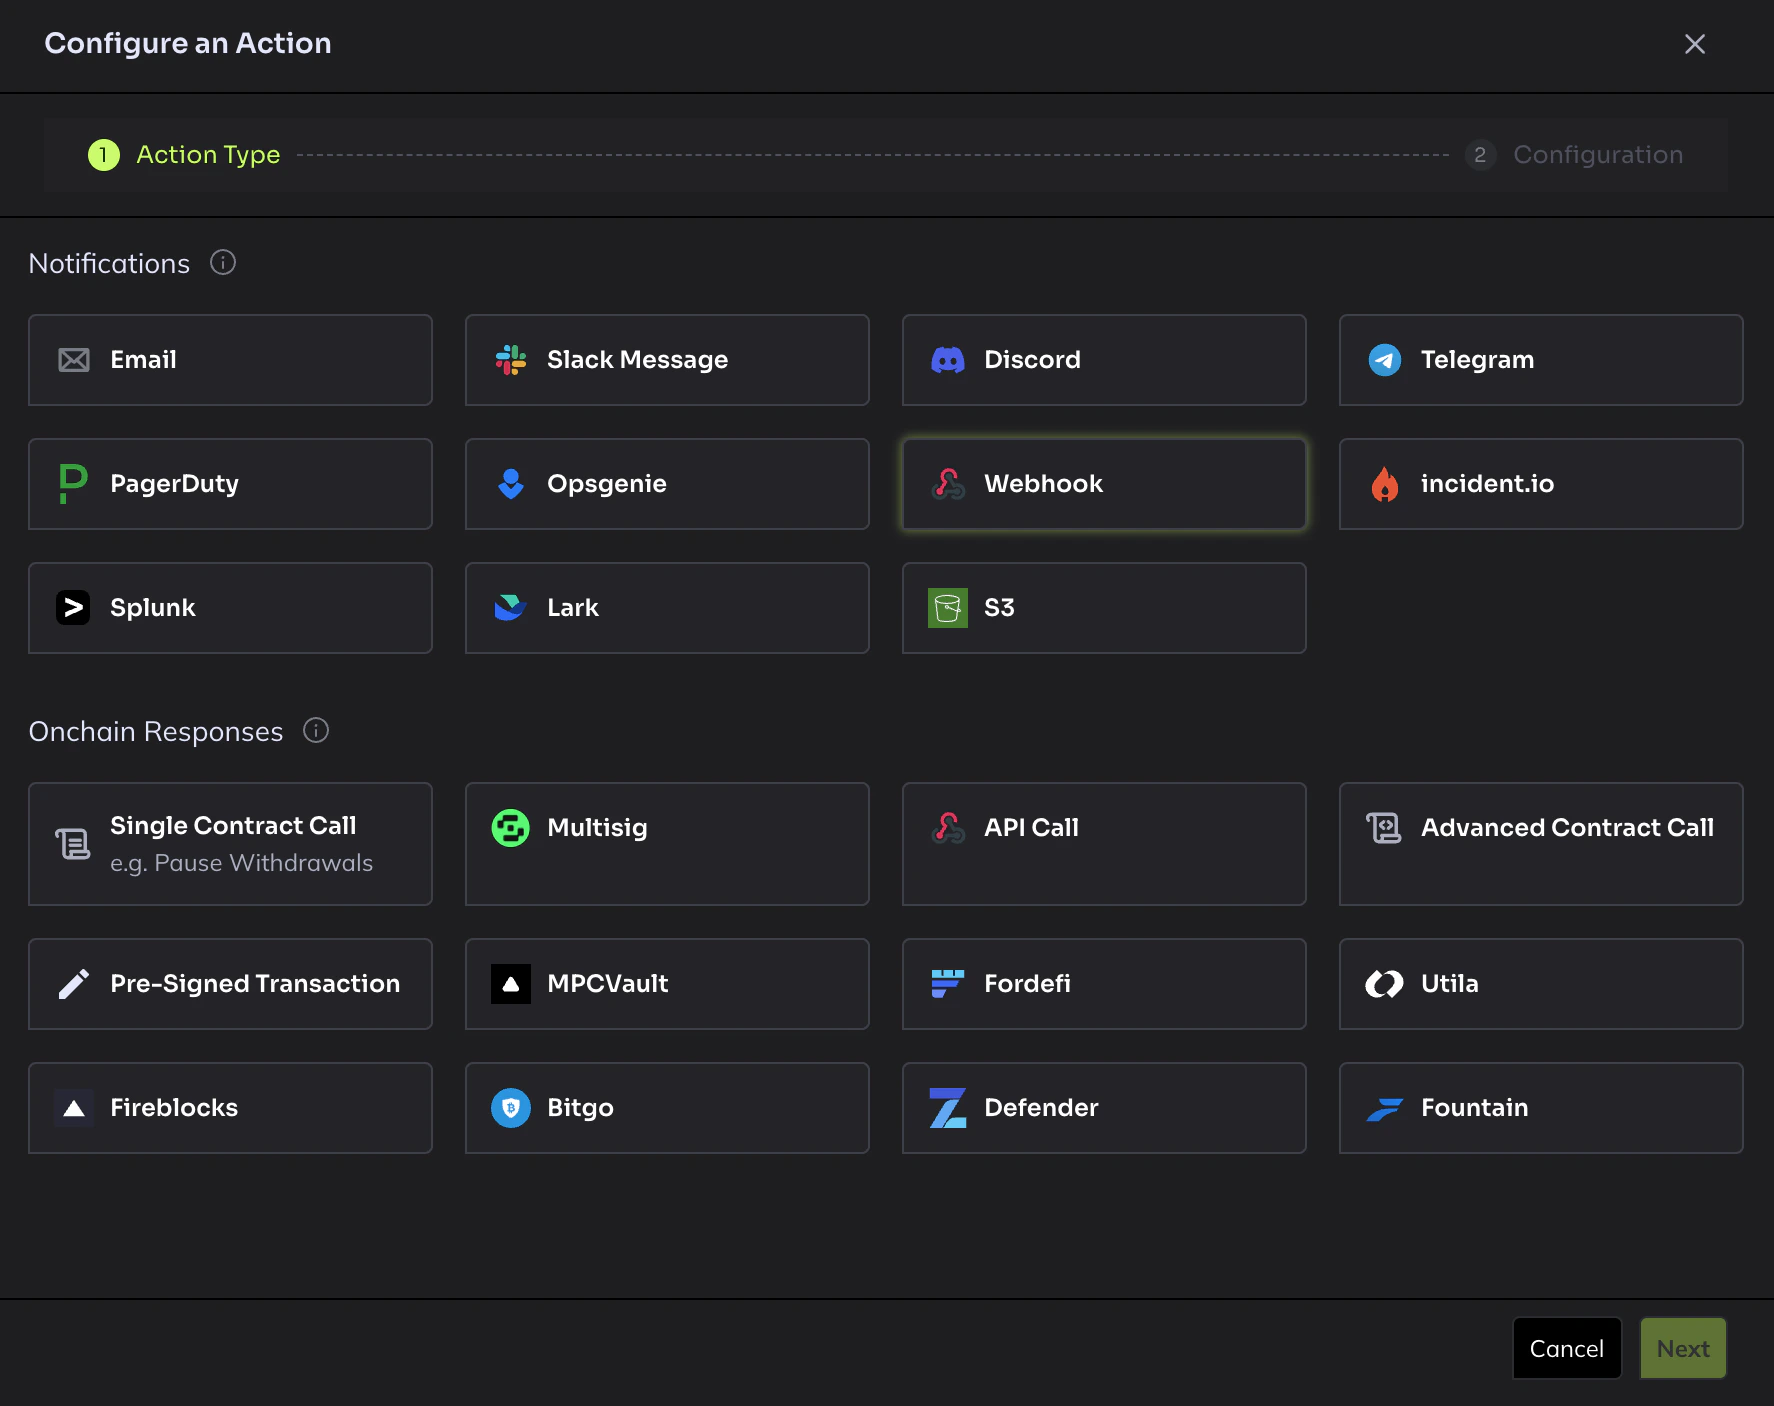
- Configure the action:
- Name: Give it a descriptive name (e.g.
Clarion Webhook) - URL: Paste the webhook URL from Clarion
- Name: Give it a descriptive name (e.g.
- Click Save
Step 3 — Attach the Action to your Custom Agents
- In Hypernative, go to Custom Agents
- For each agent you want to send alerts to Clarion, click to edit it
- Add the newly created webhook Action to the agent’s action list
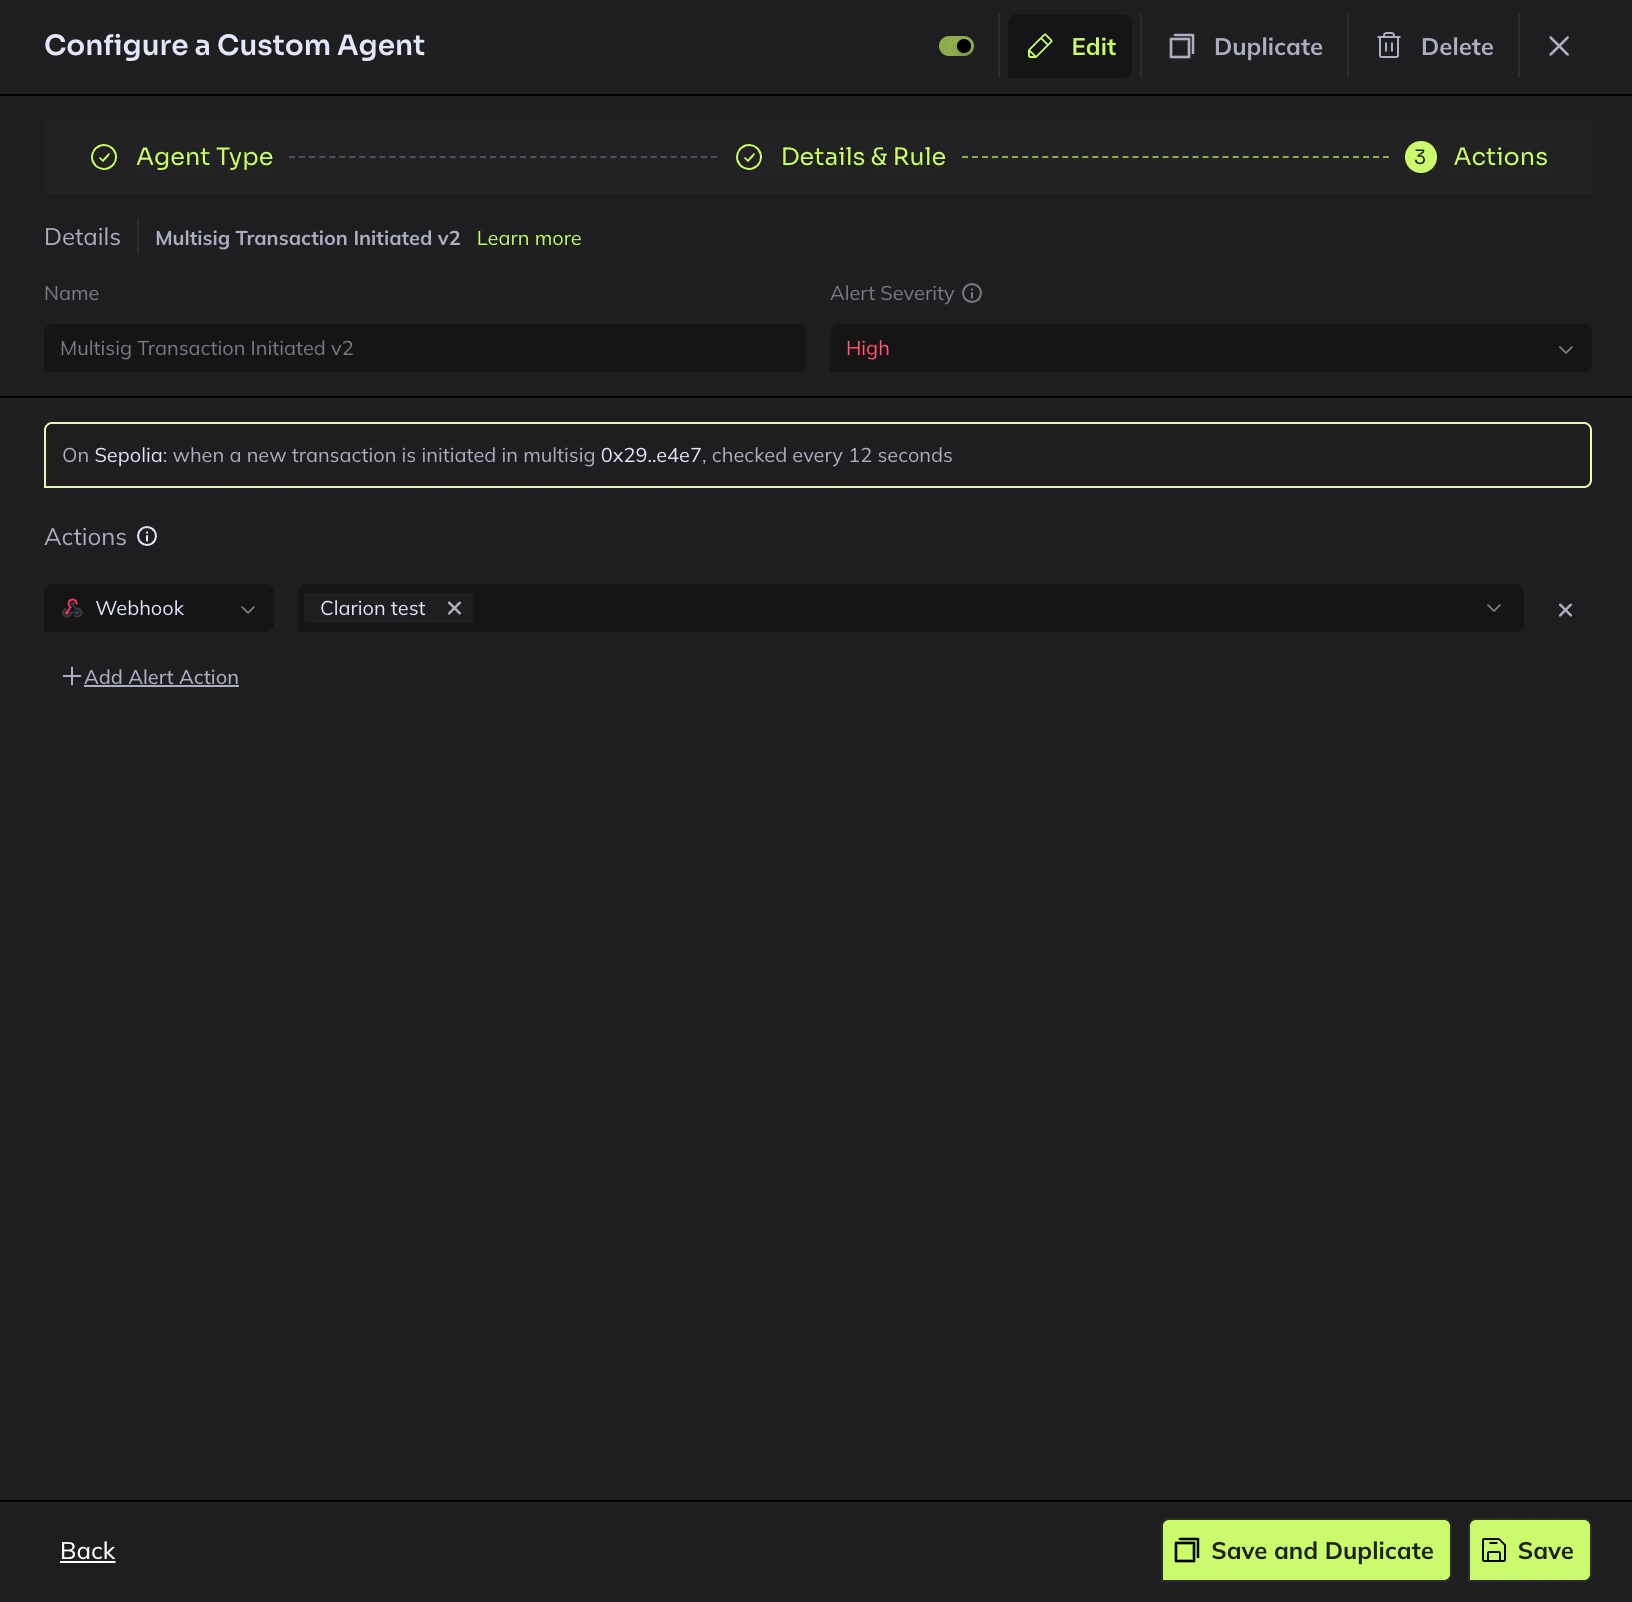
- Save the agent
Step 4 — Attach the Action to your Watchlists
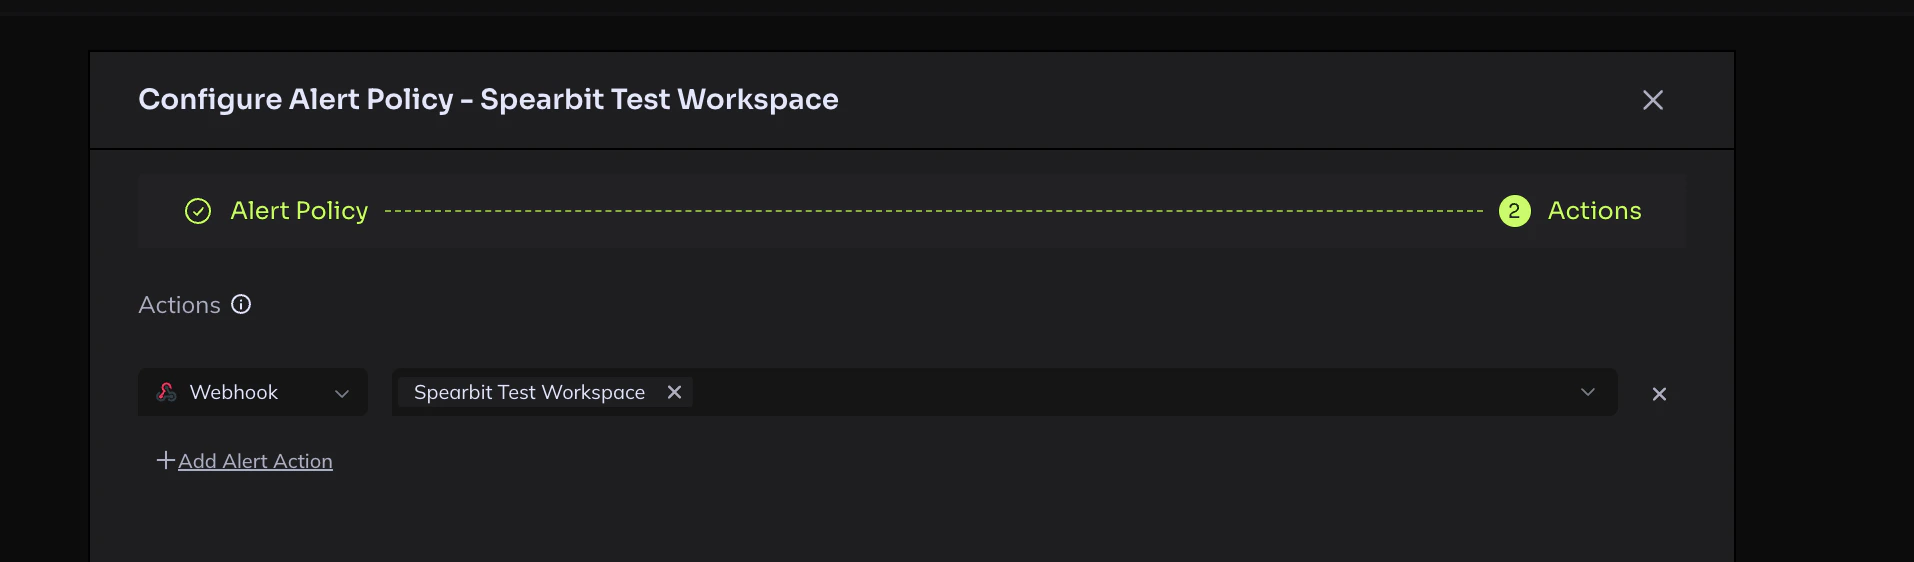
- In Hypernative, go to Watchlists
- Open each watchlist and add the Clarion webhook to Actions under the Configure Alert Policy

- Navigate to Actions, and configure the webhook
Step 5 — Verify the integration
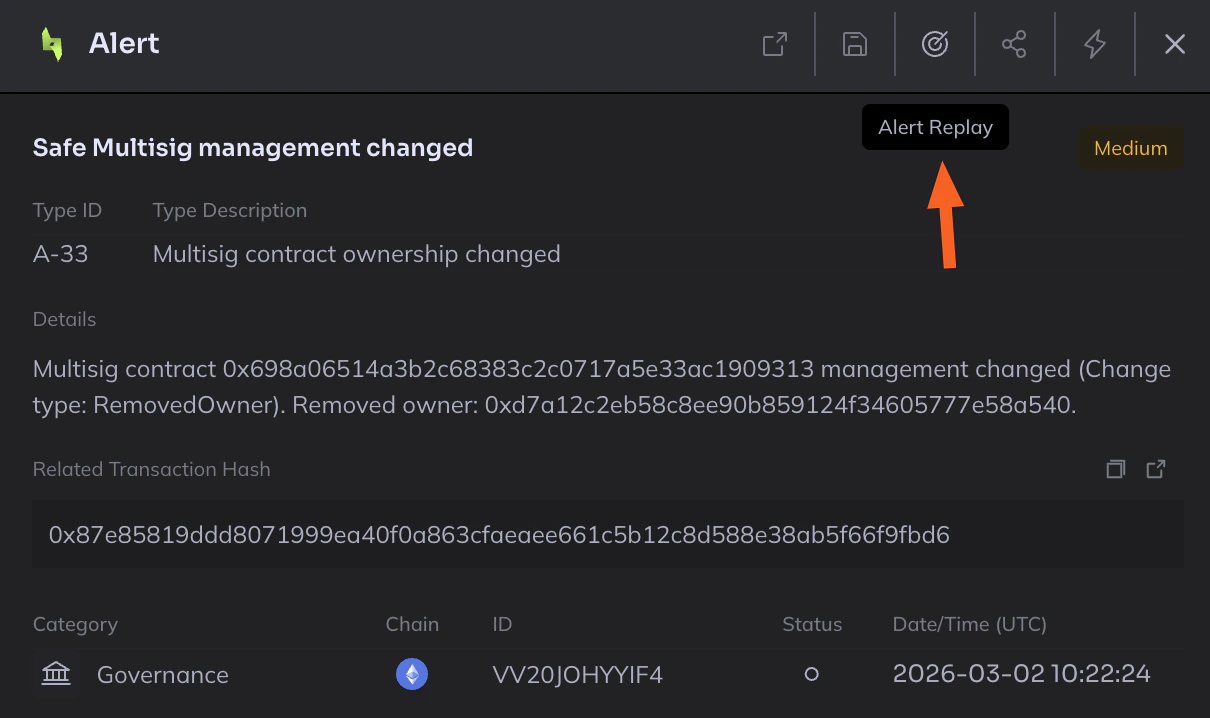
Since Hypernative doesn’t support test webhooks, use Alert Replay to verify:- Go to Risk Insights > Alerts in Hypernative (alternatively you can replay alerts from a Watchlist > Alerts as well)
- Remove the default date filter to see recent historical alerts
- Open any recent alert, make sure it was triggered from Watchlists
- Click Alert Replay to re-trigger the alert
- Check the Clarion alerts page — you should see the replayed alert appear within a few seconds